 HCL Connections for Windows
Installation
Where to find the software
The Desktop Connector for Windows can be found on our downloads page
How to install the software
Either you follow the guide below or you go to the HCL documentation website
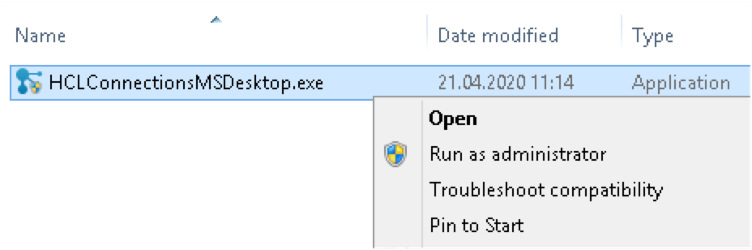
After downloading the software, double click the HCLConnectionsMSDesktop.exe file to upgrade or install the HCL Connections integration for Windows. Depending on your security settings, you will have to run the installation as administrator.
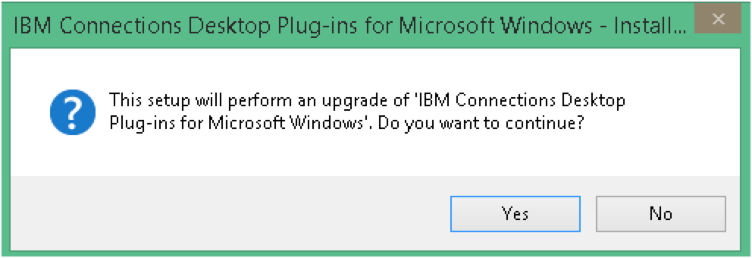
Click Yes
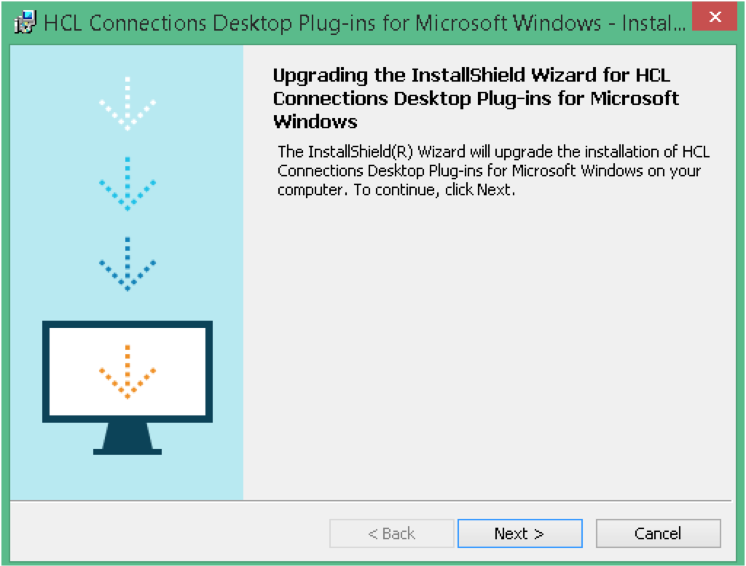
Continue with Next
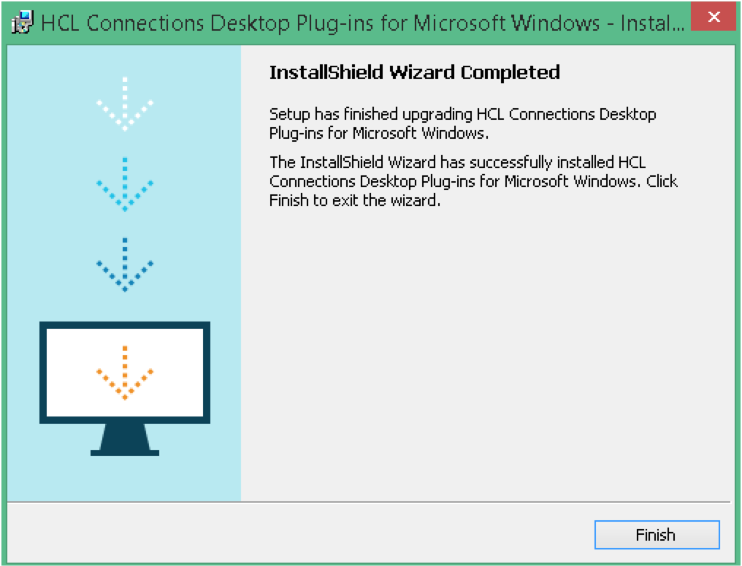
Click on Finish
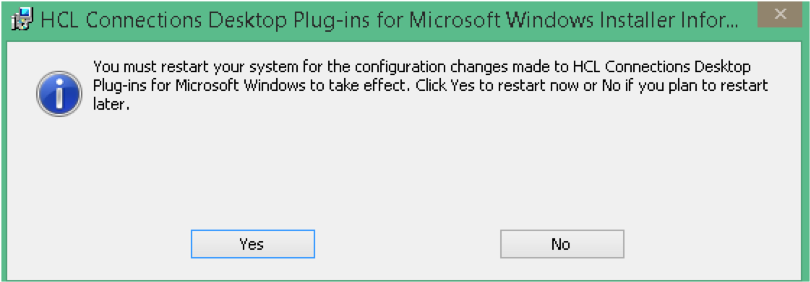
You might get a request to restart your computer. Please close all applications and do so if needed.
Connecting to collab.cloud
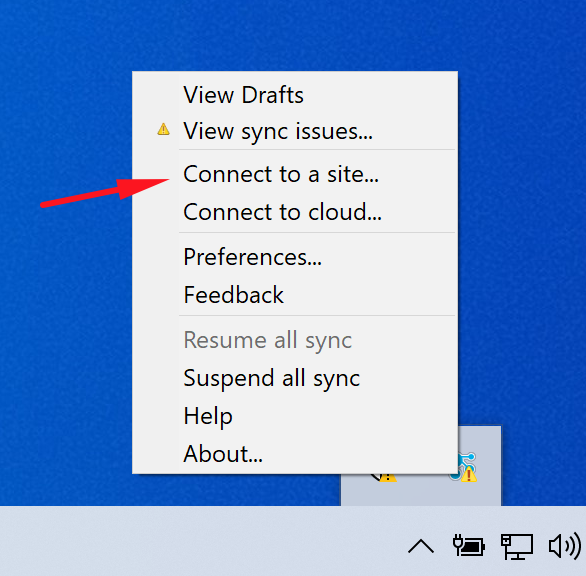
- Once you have installed the connector you can configure it by right click in your system tray and select the Connect to a site option.
- In the Connect to a Site dialog, enter your Company allocated Connections URL. It will have a format like: https://companyname.collab.cloud. Select Open Standard for Authorization (OAuth) as Authentication Type (Do not fill out a username and password).
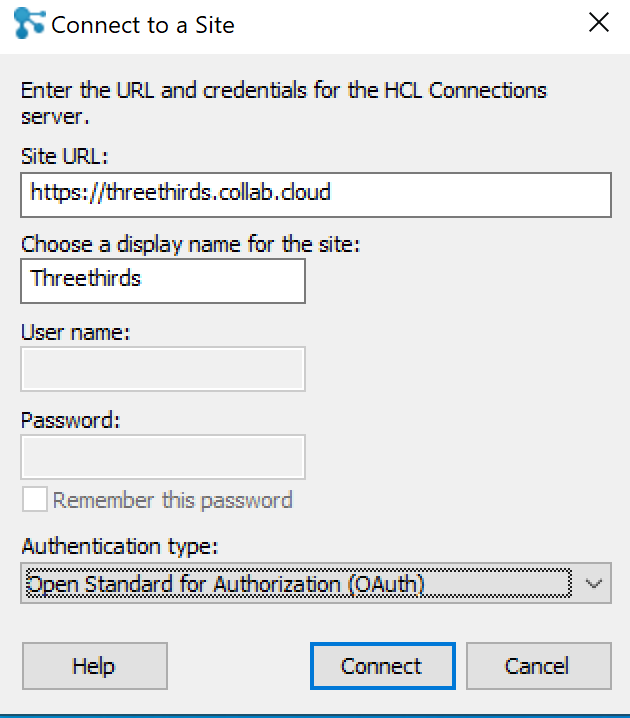
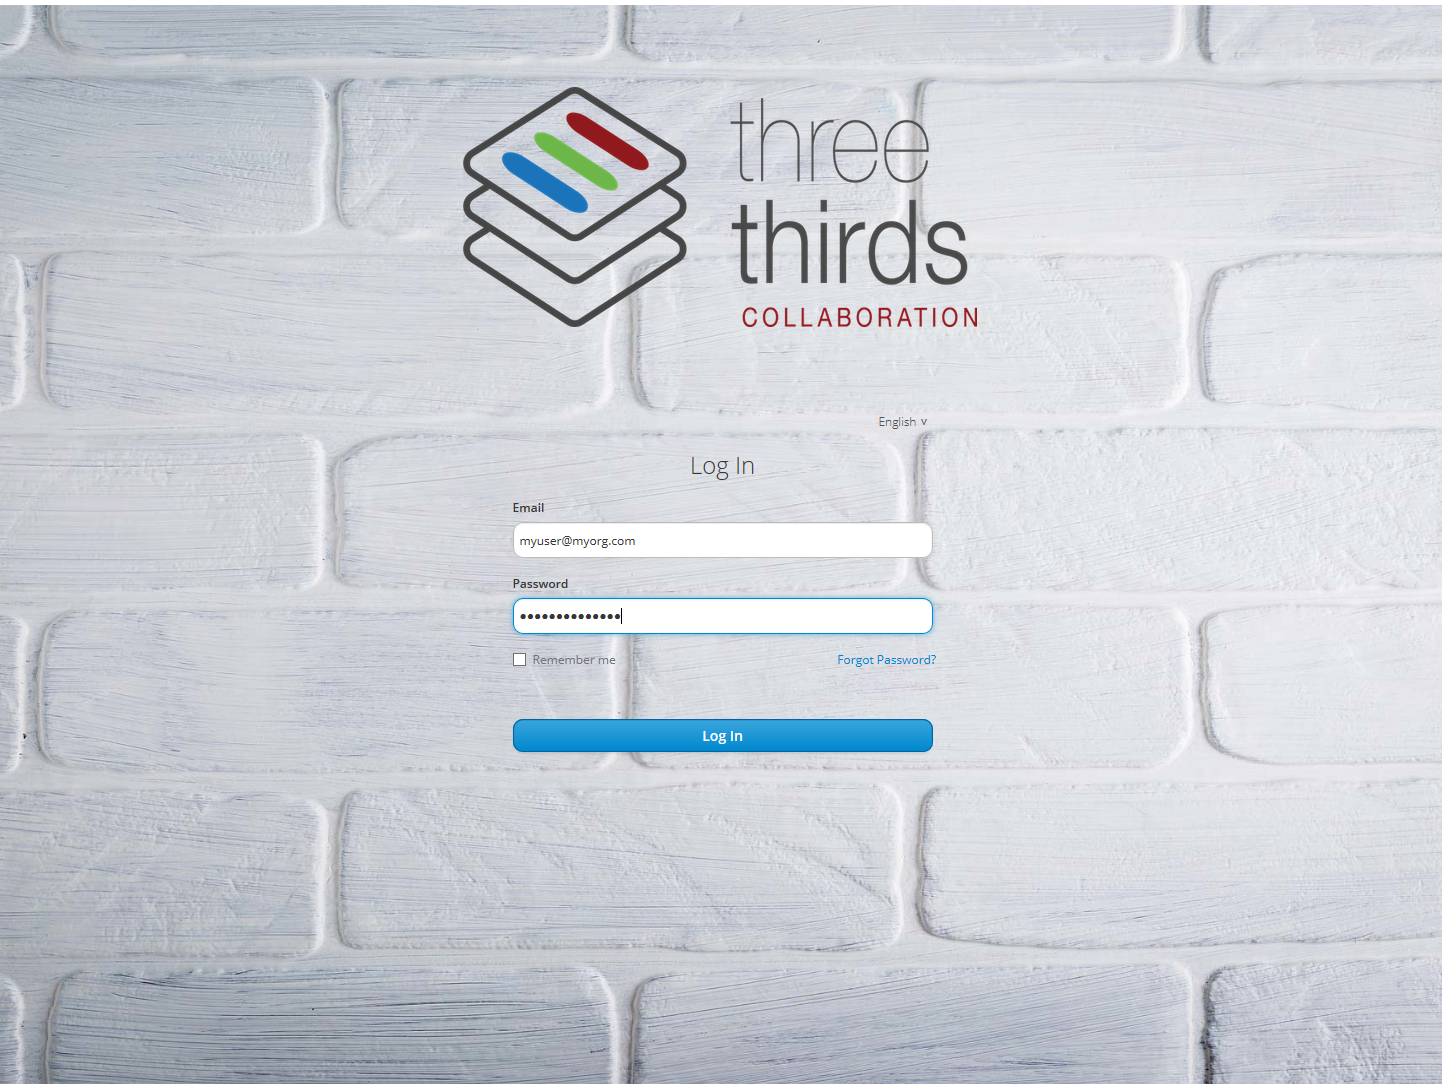
- Now click Connect, you will receive a pop-up window where you can enter your credentials
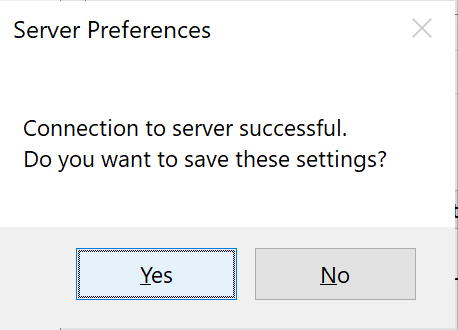
- Please save your settings to start using the application
Add you Communities
As the list of communities was stored on the client they could not be migrated, you will have to add them again
How to Use the Software
Information on how to use the Desktop Connector for Windows can be found on the HCL documentation website
Add your Communities
As the list of communities was stored on the client they could not be migrated, you will have to add them again